
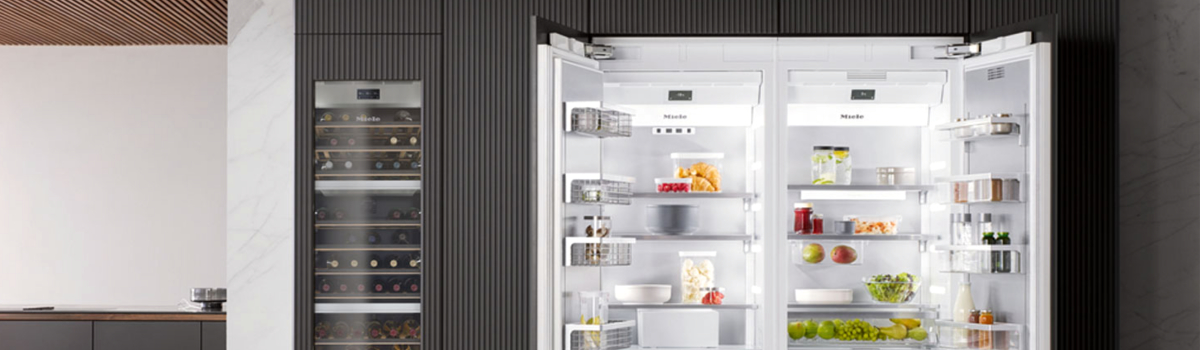
If your Miele refrigerator just displayed F1, you’re in the right place. Miele makes excellent refrigerators, but even the best appliances can show an error when a temperature sensor misbehaves. This guide explains what F1 means, why it happens, how to check and fix it yourself safely, and how to stop it from coming back. The text alternates short, easy-to-read paragraphs with concise lists so it’s friendly for everyday readers and useful for SEO.
What F1 means — quick summary
- F1 typically indicates a fault with a temperature sensor in the refrigerator compartment.
- The fridge’s control system is getting a wrong or missing temperature signal.
- Result: cooling may be incorrect, the compressor might run constantly, or the appliance may shut down or display alarms to protect food.
The problem in plain terms
Your refrigerator uses one or more tiny sensors to measure the air temperature inside the fresh-food section. Those sensors send data to the control board so the compressor, fans, and defrost cycle keep food at safe temperatures. When a sensor fails, becomes disconnected, or gives erratic readings, the control board can’t regulate cooling reliably. Miele displays the F1 code to let you know the system detected that problem.
Common causes of F1
- Sensor wiring is loose, pinched, or corroded at a connector.
- The temperature sensor itself has failed from age or heat exposure.
- Moisture, ice build-up, or heavy spills have contaminated the sensor area.
- The control board’s sensor input or connector is damaged (less common but possible).
Safety first — what you should know before opening the fridge
Always unplug the refrigerator or turn off its dedicated circuit before touching electrical parts. Work only when the compartment is cool. If you’re not comfortable working with small electrical connectors or internal panels, it’s safer to call an appliance technician. Fixing a sensor is usually straightforward, but the control board and sealed systems are more delicate.
Easy DIY diagnostic steps (doable for most homeowners)
- Unplug the refrigerator or flip the breaker, then open the fresh-food compartment.
- Locate the temperature sensor — often a thin probe or small cylinder near the back wall or behind a rear panel.
- Visually inspect the sensor and its wiring for ice, dirt, loose plugs, or burn marks.
- If the sensor is dirty, gently wipe it with a soft cloth; remove frost with a hair dryer on low from a safe distance (never use open flame).
- If you have a multimeter, measure the sensor’s resistance or continuity per the sensor type (note: sensor specs vary by model — if you’re unsure, cleaning and checking connectors is the safe first step).
- Re-seat any connectors and restore power to see if the F1 code clears.
What if cleaning and reconnecting don’t clear F1?
If the error persists after cleaning and checking connectors, the sensor itself may be defective or the control board input could be faulty. Replacing the sensor is often the next step and is normally inexpensive and simple. If the control board shows other symptoms (burn marks, multiple unrelated errors, or intermittent behavior), professional diagnosis is recommended.
Replacing or calibrating the sensor — practical guidance
Start by identifying the exact sensor part for your Miele model (use the model number printed on the fridge). Replace only with the correct part or an exact OEM equivalent. Typical steps: unplug power, remove any interior panels or shelving that block access, unscrew the sensor securing screw(s), unplug the sensor harness, install the new sensor, reconnect, reassemble, and power the unit. After replacement, allow several hours for the refrigerator to stabilize and verify the temperature and that the F1 code no longer appears.
Quick troubleshooting checklist
- Power cycle: unplug for 5 minutes, then plug back in.
- Clean the sensor area and remove any ice or debris.
- Re-seat connectors and inspect wiring for damage.
- Replace the sensor if it’s visibly damaged or if tests show failure.
- Call a professional if the error persists or if the control board looks damaged.
Preventive measures — keep F1 from coming back
Keep the fridge interior clean and dry and avoid forcing items against the back wall where the sensor sits. Defrost heavy ice build-up promptly. During any maintenance, have technicians inspect wiring routing so wires aren’t pinched or exposed to heat sources. Regularly check door seals — failing seals let moisture in and increase frost risk around sensors. These small habits reduce the chance of sensor faults and F1 codes.
When to call a pro
Call a qualified appliance technician if you’re uncomfortable with the steps above, if replacing the sensor doesn’t fix the code, or if you see signs of electrical damage. Professionals can test the control board, match exact replacement parts, and handle repairs that require special tools.